How to make your home Shiny or Rstudio Server accessible from the public internet


⚠️ Some assembly required! This project is going to require you to investigate the specifics of your network equipment on your own.
You have installed Shiny and/or RStudio server in your home computer and it works great as long as you are connected to your local network, however, you can’t access it from other locations, What can you do?
The solution is to expose your server to the public internet by forwarding incoming traffic to the corresponding port in your server. Now, I’m not going to lie to you telling you that this article is going to give you detailed instructions on how to do it with your specific router because it would be virtually impossible, each router brand (an even model) has a different management interface, I can only give you the required steps along with an example using the router I have at home, although, generally speaking, the procedure involves the same steps regardless of the specific router model you have, so with a little effort on your part you should be able to figure out how to make it work with your own router.
Prerequisites
I’m writing this article under the assumption that you already have Shiny and/or RStudio server properly installed on a computer at home (if you haven’t, you can check out the other articles in my blog for inspiration).
You need to have a public IP assigned to your router (it doesn’t matter if it changes dynamically), not everybody has one since some Internet Service Providers (ISPs) use a NAT3 configuration, which basically means that you share a public IP with a group of their clients and there will be no means to map an HTTP request to your home server, however, it is possible that you can get your NAT configuration changed if you call your ISP and request for a public IP so you might want to give it a try.
You need to know the user and password to access your router’s configuration interface, some ISPs let it as default and you only need to google the default password for your router’s model, but in most cases, they change it so you would need to give them a call and ask for your credentials.
Open the Required Ports in the Server
Specific ports for Shiny and/or RStudio server need to be accessible in your server to be able to connect to those services. Most Linux distributions come with all ports accessible by default but it is a common (and good) practice to install a firewall to restrict access to your server, if this is your case, you need to make sure that you have the required ports open.
For Shiny server the default port is 3838 and for RStudio server it is 8787 (this can be customized). If you have configured a reverse proxy with Nginx or Apache you can obviate those ports and only open port 80 for HTTP or port 443 for HTTPS. For example, the command to allow incoming traffic on port 80 using the ufw firewall in Ubuntu-based systems would be like this:
sudo ufw allow 80/tcpAnd using firewalld in RHEL-based systems would be:
sudo firewall-cmd --permanent --zone=public --add-port=80/tcp
sudo firewall-cmd --reload
You could have other rules that could prevent traffic from going into your server from remote locations so you might want to inspect your firewall rules and look for anything restricting incoming traffic.
Configure Port Forwarding in your Router
Open a web browser on a device that is connected to your local network and type your router’s local IP, usually, it is something like 192.168.0.1 or 192.168.1.1. All routers have a web server running on port 80 by default so by typing their IP it would open a web page with the configuration interface.
In my particular case, I’m steel using a cheap Sagemcom HFC modem my ISP gave me (because I’m always going to set up my custom pfSense router very soon), so if I open a Chrome browser and type 192.168.0.1 this is what I get.
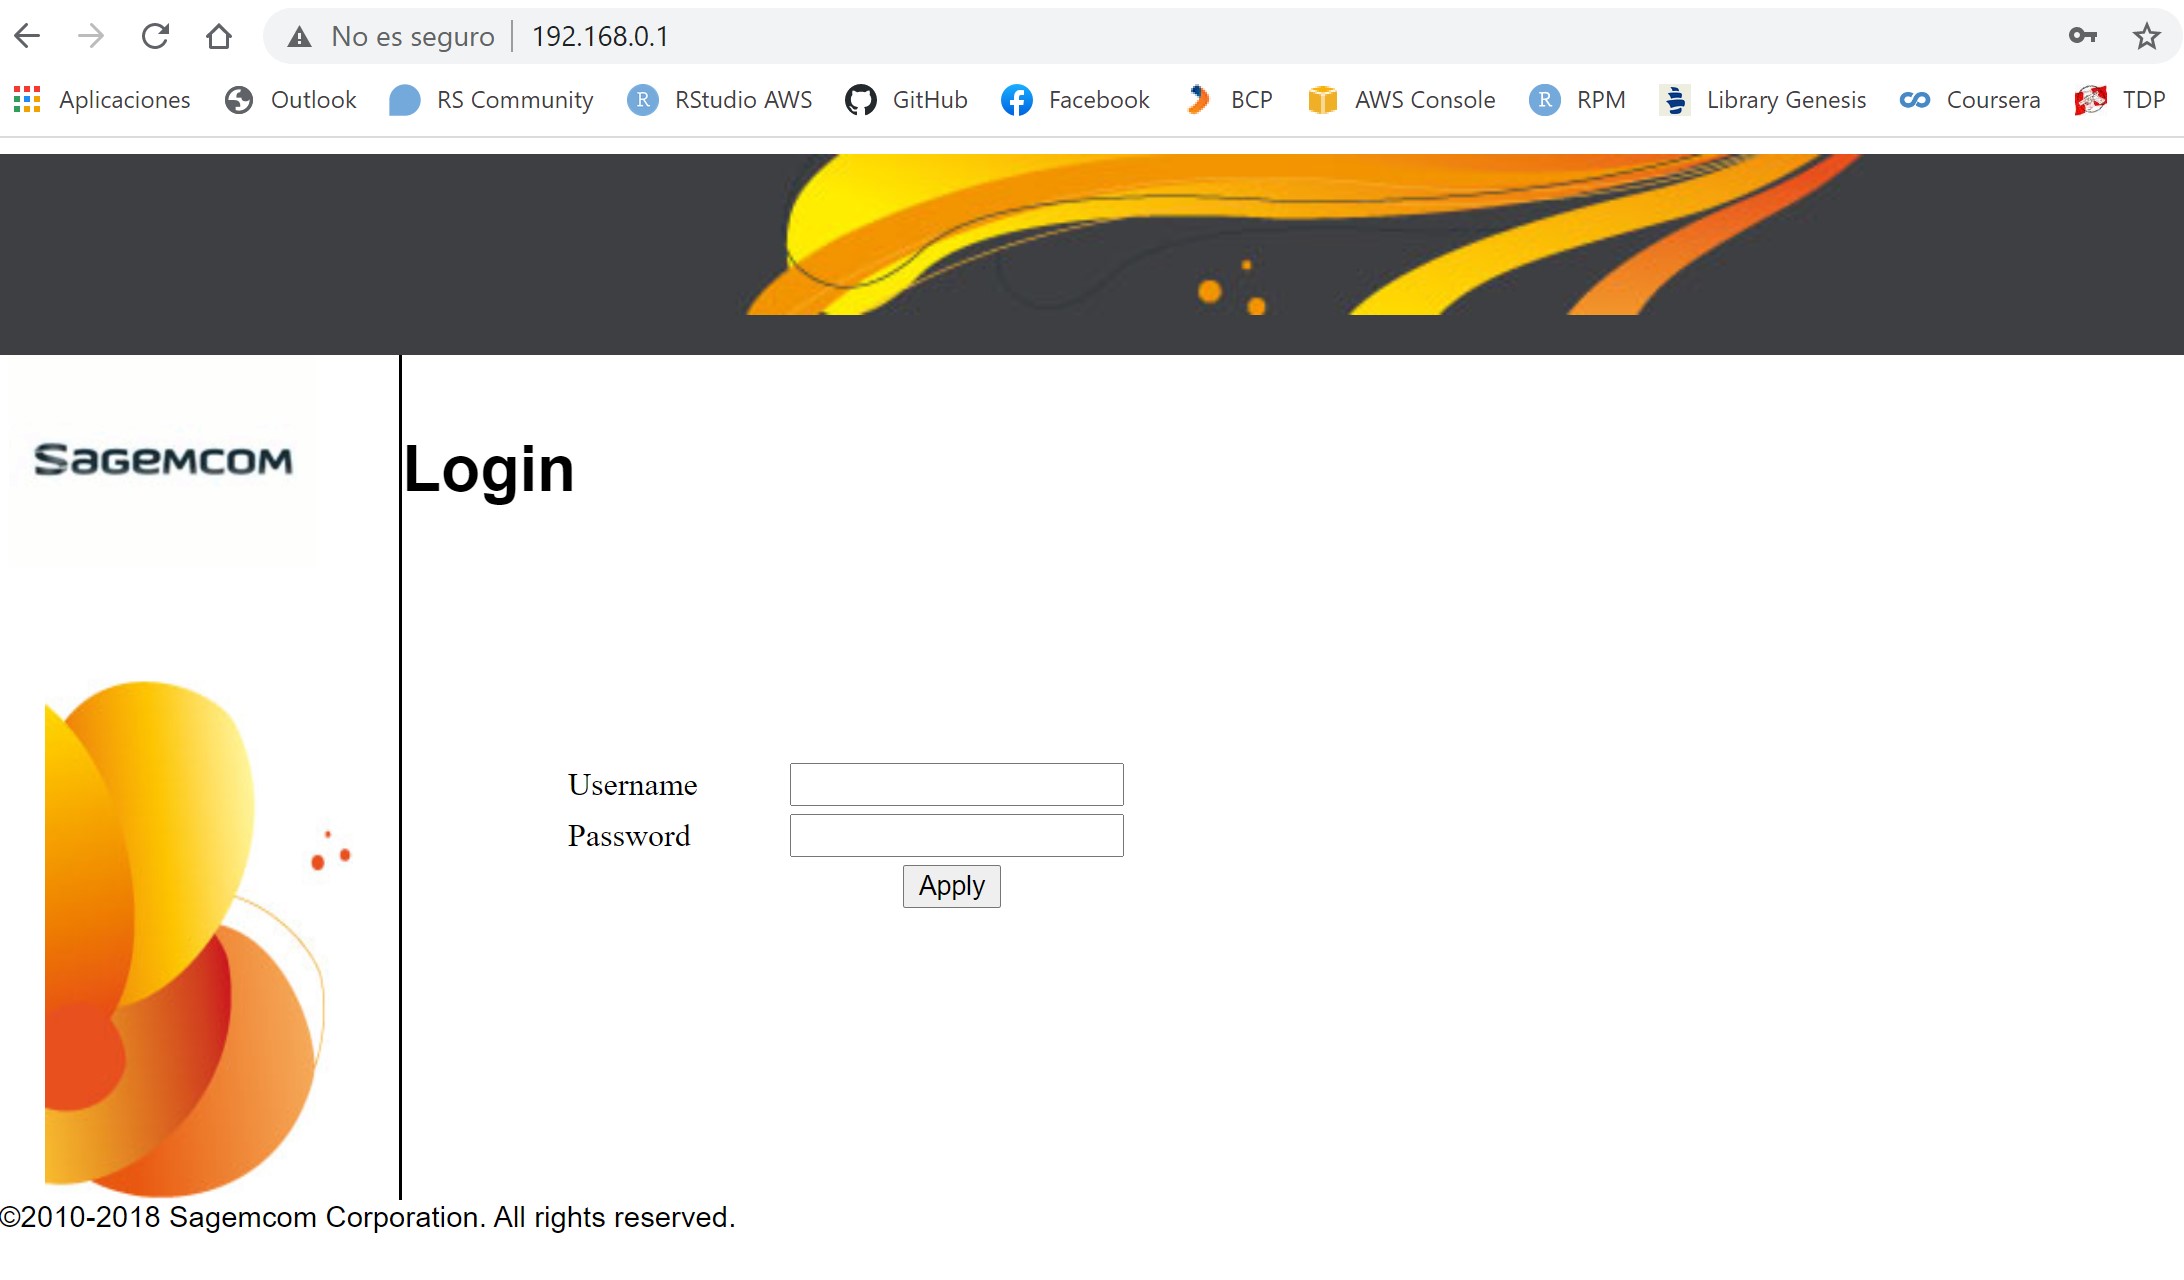 In your case, the user interface would look different and options might have slightly different names but they are basically the same.
Enter your credentials to get access to the configuration interface, which in my case looks like this.
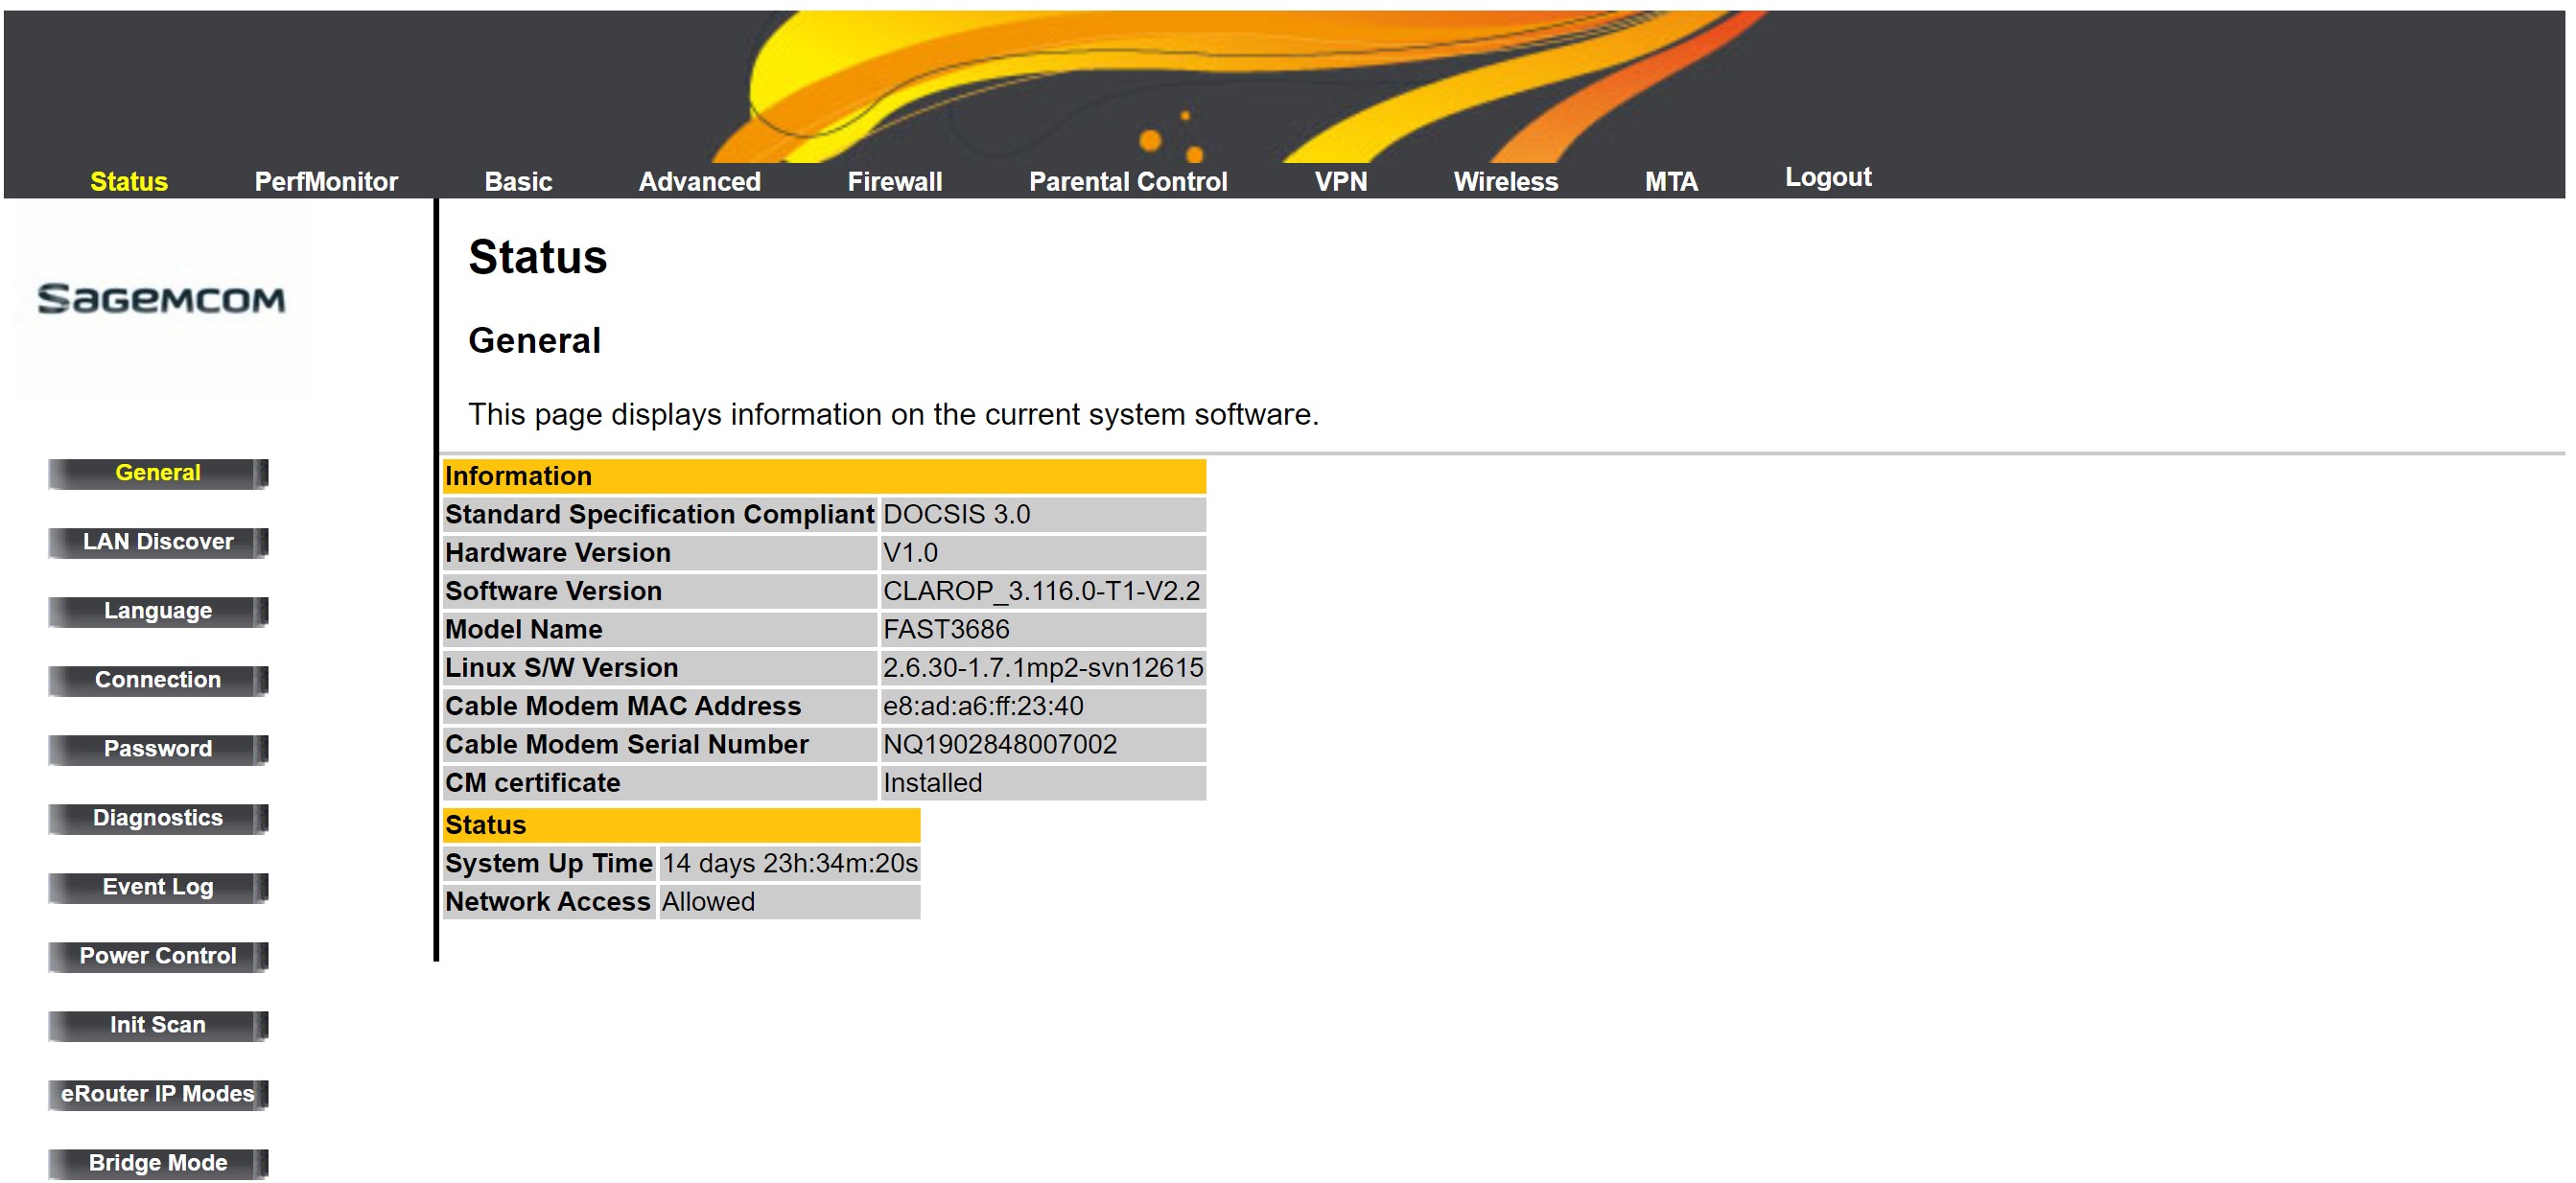
Then, search among all the available tabs to find the “port forwarding” section, it is not going to be in the same place for you but most modern routers have this section.

Once in there add forwarding rules for Shiny and/or Rstudio server (You have to replace “your_sever_ip” with your actual server’s local IP) and apply changes.
| Local Address | Start Port | End Port | External Address | Protocol | Description |
|---|---|---|---|---|---|
| your_sever_ip | 3838 | 3838 | 0.0.0.0 | TCP | Shiny-Server |
| your_sever_ip | 8787 | 8787 | 0.0.0.0 | TCP | RStudio-Server |
If you are using a reverse proxy, you only need to make sure you have one of these.
| Local Address | Start Port | End Port | External Address | Protocol | Description |
|---|---|---|---|---|---|
| your_sever_ip | 80 | 80 | 0.0.0.0 | TCP | HTTP |
| your_sever_ip | 443 | 443 | 0.0.0.0 | TCP | HTTPS |
Also, make sure you don’t have a “Block WAN traffic” option enabled in your router, this will block all incoming traffic whatsoever.
After doing all these you should be able to access your shiny apps by typing your.public.ip:3838/your_app_name and/or your Rstudio Server by typing your.public.ip:8787 in any browser.
Optional Extra Steps
Setup a Dynamic DNS Service (DDNS)
Most residential internet services do not include a “static” public IP, which means that even if you have a public IP assigned at any given moment, it will not always be the same. A public IP is needed to access your server from the internet directly or to point your custom domain (web address) to it, so you can imagine how inconvenient would be having to figure out what the value is at any given moment.
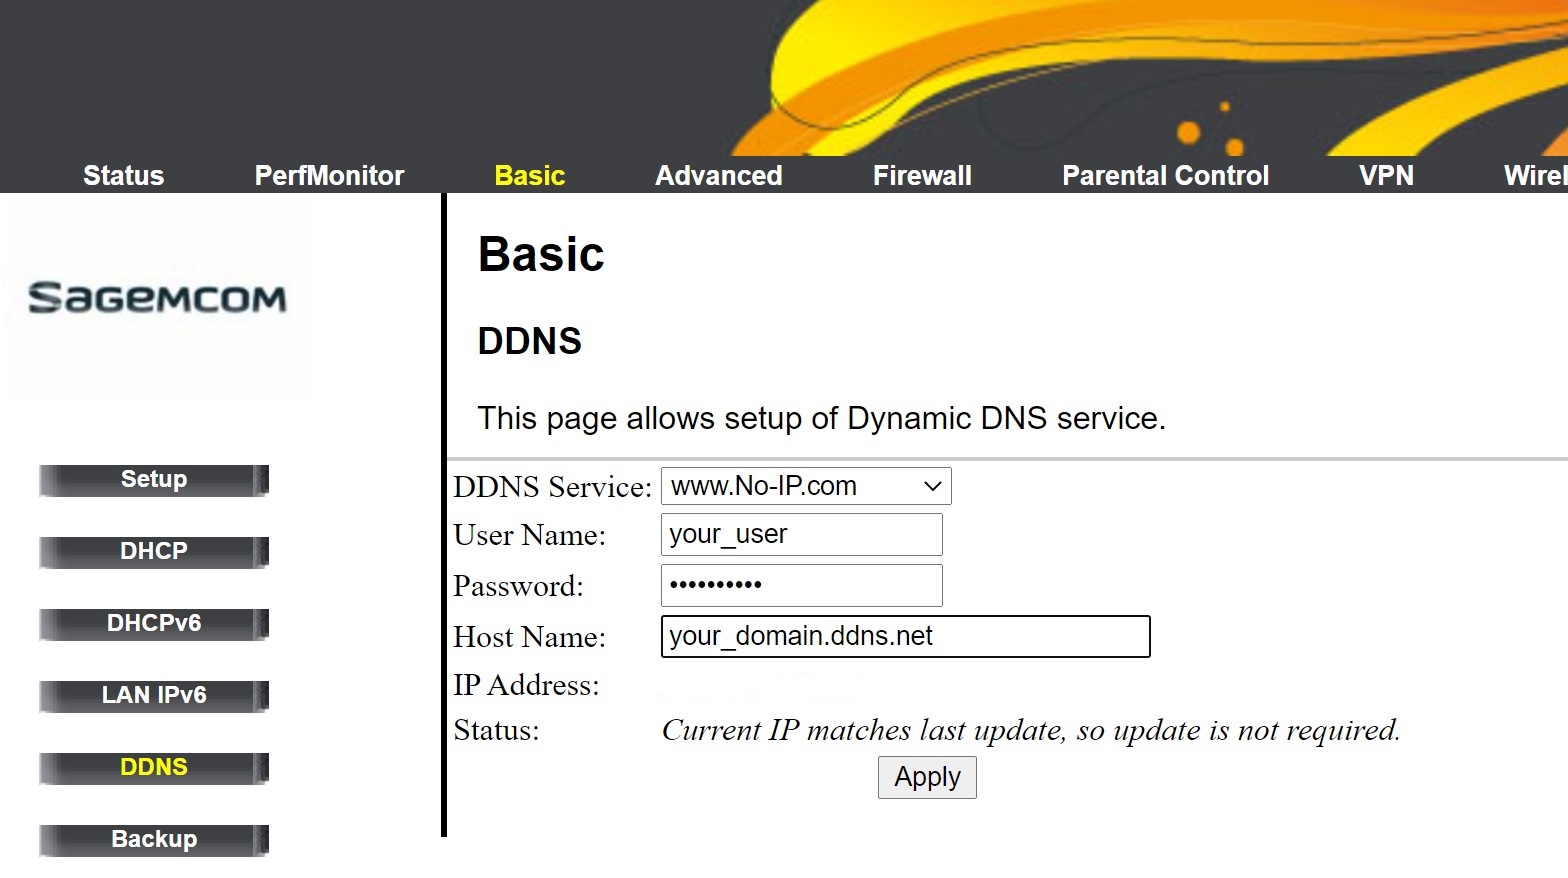
To address this issue, you can use a Dynamic DNS Service (I like to use No-IP). What this service does, is to automatically update your domain (they can even give you a free subdomain if you want) to point towards your current public IP every time it changes, it does it by using a built-in DDNS agent in your router if available or if not, by using a service installed in your server that automatically reports the current IP to the DDNS service.
If your router has a compatible built-in DDNS agent, you just have to enter your credentials and you are ready to go.
If your router does not have a DDNS agent, you are going to have to install one in your server (provided by the DDNS provider). How to install it depends on what DDNS provider you are using and what operating system your server is running but surely you can find detailed instructions on the DDNS provider’s documentation page.
With this extra step, you will access your shiny apps with your_domain:3838/your_app_name and your RStudio server with your_domain:8787 which doesn’t require you to know your current public IP in advance.
Configure a Reverse Proxy
Up until the previous step we had solved the problem with the changing IP address but we still have awkward port numbers in the web addresses for our server, by configuring a reverse proxy we can get to use nicer addresses like your_domain/shiny/your_app_name and your_domain/rstudio.
To configure a reverse proxy, install Nginx
sudo apt install nginxEdit Nginx config file: sudo nano /etc/nginx/sites-enabled/default, add the following lines before the line that reads server {
map $http_upgrade $connection_upgrade {
      default upgrade;
      ''      close;
    }
and the following lines right after the line that reads server_name _;
    rewrite ^/shiny$ $scheme://$http_host/shiny/ permanent;
    # This part is for Shiny server
    location /shiny/ {
        rewrite ^/shiny/(.*)$ /$1 break;
        proxy_pass http://localhost:3838;
        proxy_redirect / $scheme://$http_host/shiny/;
        proxy_http_version 1.1;
        proxy_set_header Upgrade $http_upgrade;
        proxy_set_header Connection $connection_upgrade;
        proxy_read_timeout 20d;
        proxy_buffering off;
    }
    # This part is for RStudio server
    location /rstudio {
       # Needed only for prefix of /rstudio
       rewrite ^/rstudio/(.*)$ /$1 break;

       # Use http here when ssl-enabled=0 is set in rserver.conf
       proxy_pass http://localhost:8787;
       proxy_http_version 1.1;

       proxy_set_header Upgrade $http_upgrade;
       proxy_set_header Connection $connection_upgrade;

       # Optionally, use an explicit hostname and omit the port if using 80/443
       proxy_set_header Host $host:$server_port;

       # Not needed if there's no prefix or www-root-path is set in rserver.conf
       proxy_set_header X-RStudio-Root-Path /rstudio;

       proxy_read_timeout 20d;
    }
Now you just have to restart Nginx to apply the changes and you are done.
sudo service nginx restart